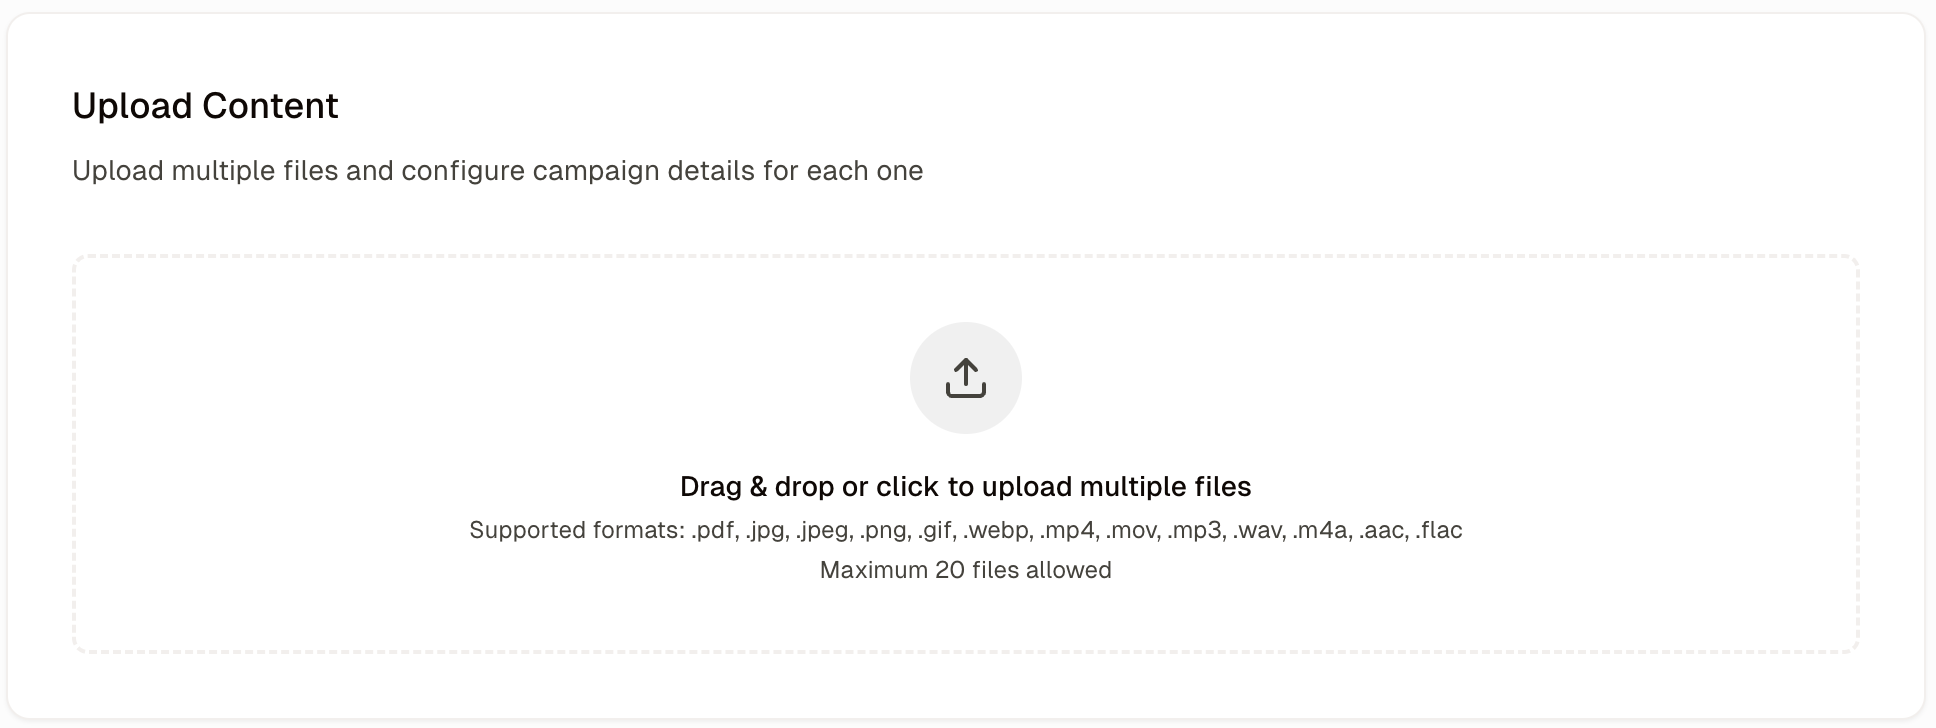
For each separate file, you can enter campaign details. Alternatively, you can fill them for one campaign and click
Apply to all, if you want all of them to be the same for each of them:
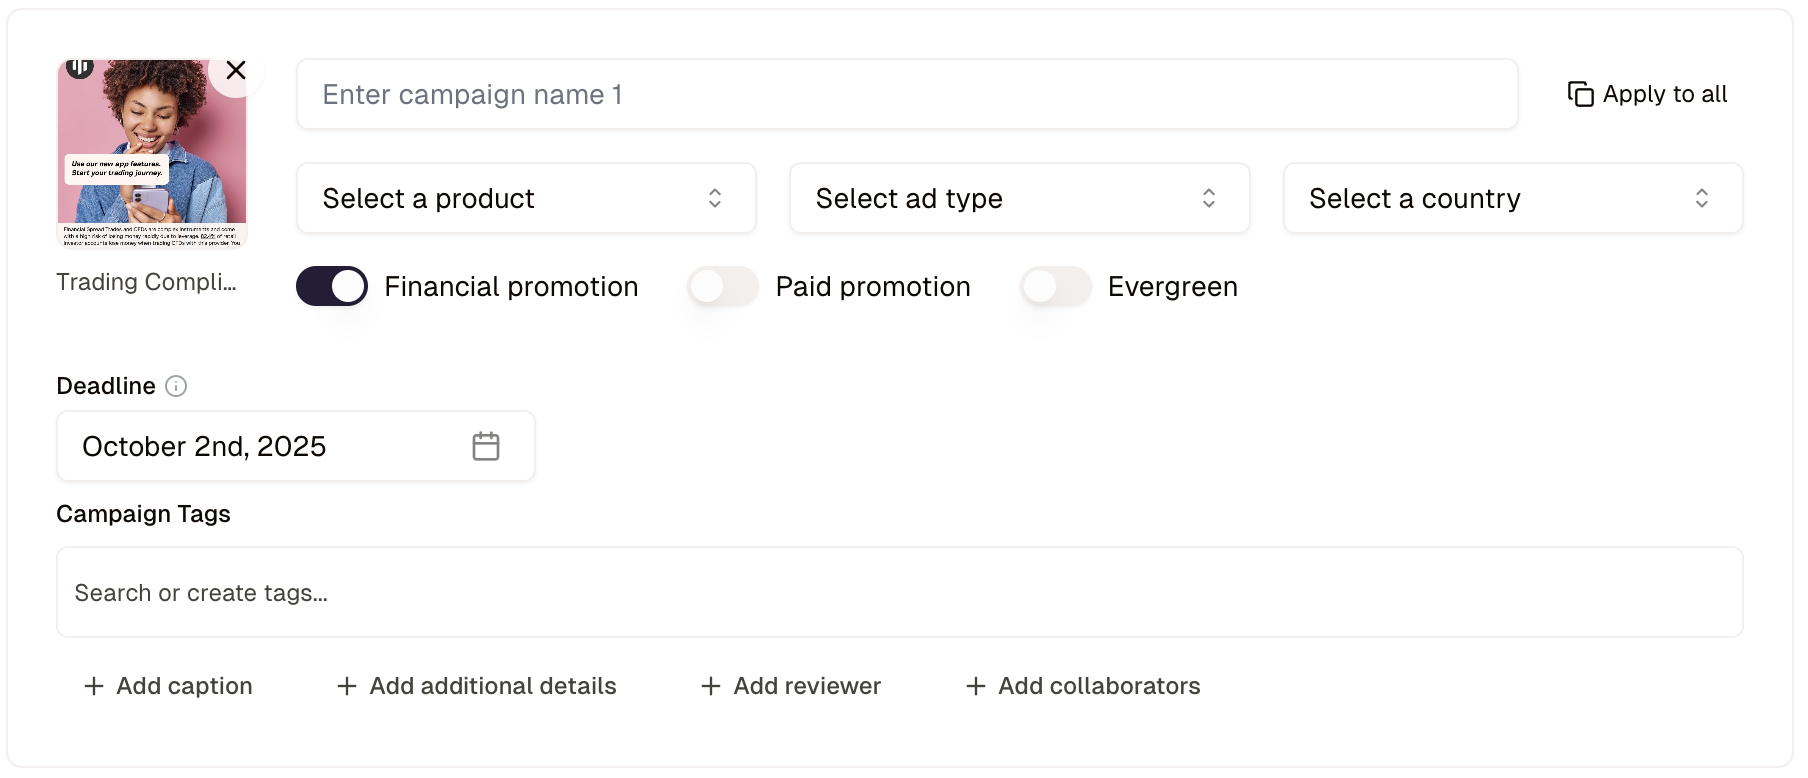
Campaign Name: Enter the name for the campaign.Product: what are you promoting?Ad Type: which channel?Target Country: where will the ad be shown?Financial Promotion: By default, all content is evaluated as a financial promotion. Toggle this setting off if your material is not a financial promotion.Paid Promotion: If this is a paid promotion, toggle this option on.Evergreen: If the content remains live over time and needs to be periodically reviewed by compliance (e.g.: social media posts), toggle this option on.Deadline: set a review deadline (automatically set according to your company’s SLA)Campaign Tags: you can give the campaign tags here, they may be predefined by your organisation.+ Add caption: enter any text that will acompany the asset when uploaded. For example, this could be a caption for social media.+ Add additional details: enter any additional information you might want Compliance to have for this campaign.+ Add Reviewer: The reviewer will be the person who is responsible for approving the campaign when you submit it to Compliance.+ Add Collaborators: You can select collaborators here or people who might want to receive upadates on this campaign.
